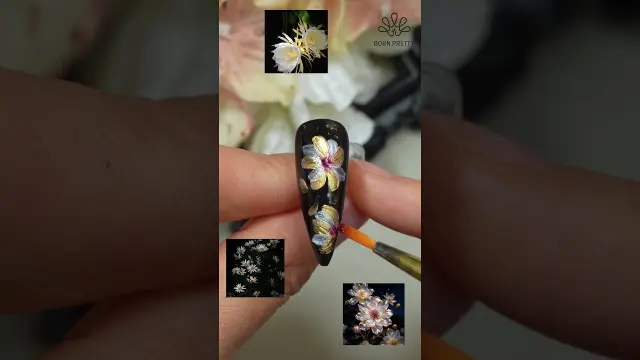
 Quick Gold Flower Nail Art Design Tutorial
#Floral Nails
3 ideas
Quick Gold Flower Nail Art Design Tutorial
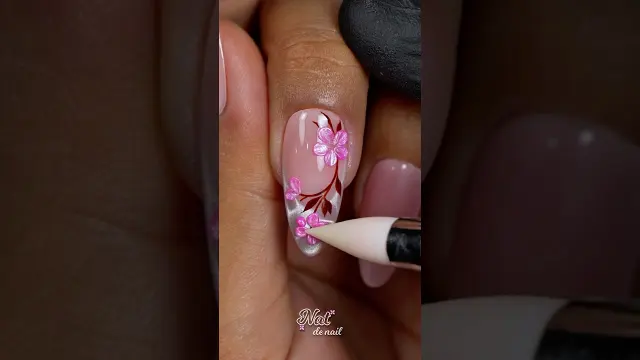 Floral Nail Art Tutorial With 3D Flowers and Gold
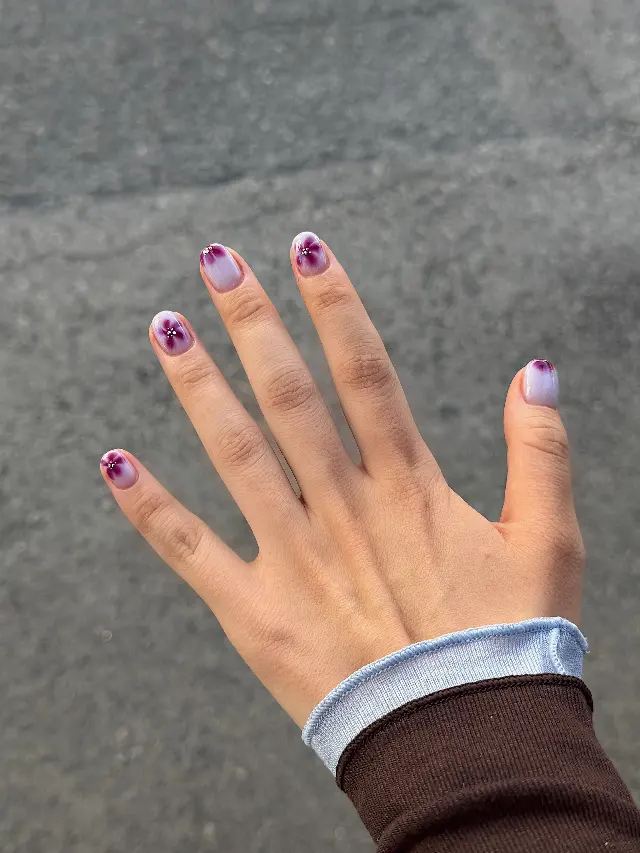 Delicate purple floral nail art design
Get new #Floral Nails ideas by email
Every Thursday: the week's best ideas, with the newest from #Floral Nails.
Related tags
Floral Nails: A Timeless Guide to Flower Nail Art
Floral nails are any manicure decorated with flower-inspired designs, from tiny painted blossoms to bold botanical patterns and three-dimensional petals. They draw on the long tradition of floral motifs in art, textiles, and personal adornment, where flowers have often been used to suggest beauty, softness, celebration, or nature itself. On nails, that idea becomes a small, wearable canvas.
What floral nails are
At their simplest, floral nails use painted petals, leaves, stems, or buds to decorate one or more nails. The flowers can be realistic, stylized, abstract, or very minimal. Some looks use a single accent flower, while others cover the whole nail with a garden-like pattern. Floral designs work well on short or long nails and can be adapted to many shapes, from rounded to almond or square.
Main styles and kinds
Read more
There are many ways to wear floral nails.
- Minimal floral nails often use tiny daisies, line-drawn petals, or a single bloom near the cuticle or tip.
- Romantic floral nails usually feature soft colors, delicate brushwork, and airy spacing.
- Bold floral nails may use large blossoms, strong outlines, or high-contrast colors.
- Vintage-inspired floral nails often include roses, small repeating prints, or a soft, painterly feel.
- Three-dimensional floral nails use gel, acrylic, or embellishments to create raised petals and a more sculptural effect.
- Negative-space floral nails leave parts of the natural nail visible, which keeps the design light and modern.
You can also mix floral details with French tips, glitter, dots, leaves, or gold accents for a more decorative finish.
Techniques used
Floral nails can be created in several ways. Hand-painted flowers are common and allow the most flexibility. Dotting tools, thin brushes, and striping brushes are often used to make petals, centers, and stems. Some designs rely on decals, stickers, or stamping, which can be helpful if you want a neat result without freehand painting. For raised flowers, nail gels or sculpting products are used to build texture.
If you are new to floral nail art, start with simple shapes such as five-petal flowers, small leaf sprigs, or scattered buds. A few well-placed details often look more polished than a crowded design.
Practical tips for beginners
Begin with a smooth base coat so the surface is even. Use a light touch when painting petals, since small imperfections are easier to fix than heavy strokes. If you are trying freehand art, practice on paper or a tip first. Keep the color palette limited at the start: one background shade, one flower color, and one accent color is often enough.
For better balance, vary the size and placement of the flowers. A single focal bloom can be enough, or you can repeat tiny blossoms across several nails for a softer look. Finish with a top coat to help seal the design and protect it from wear.
Choosing a look that suits you
Floral nails can be subtle or expressive, classic or playful. If you prefer a gentle look, choose muted tones and tiny flowers. If you want something more noticeable, larger blooms and richer colors will stand out. The beauty of floral nail art is that it can be adapted to your taste, your skill level, and the occasion, while still feeling fresh and timeless.
Videos come from YouTube and posts from Instagram; titles and summaries are our own. All rights belong to their creators.