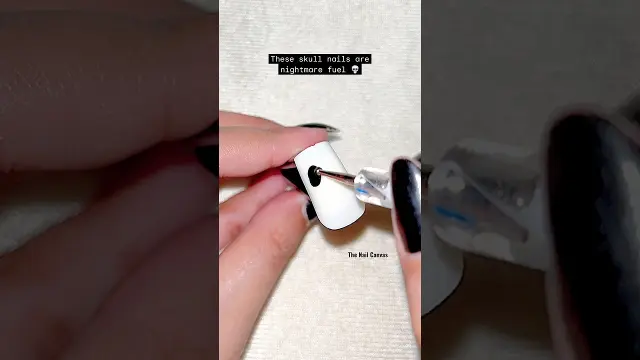
 Scary Halloween Skull Nail Art Tutorial
#Halloween Nails
14 ideas
Scary Halloween Skull Nail Art Tutorial
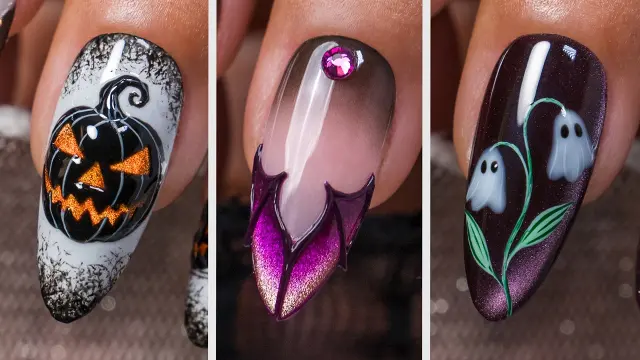 Step by Step Halloween Nail Art Ideas and Spooky Designs
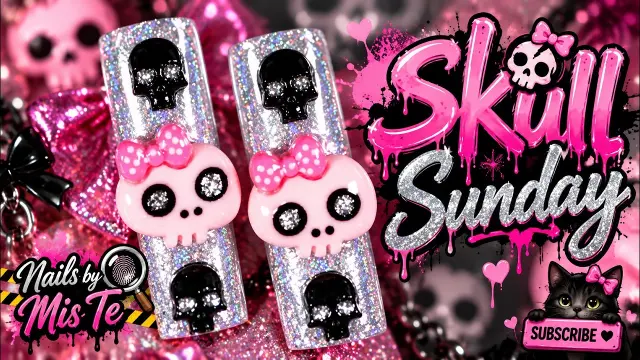 Sparkly Silver And Pink Bow Skull Nail Inspiration
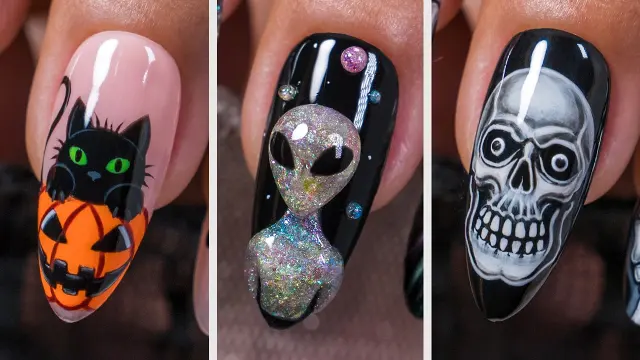 Spooky Halloween Nail Art Ideas And Tutorial
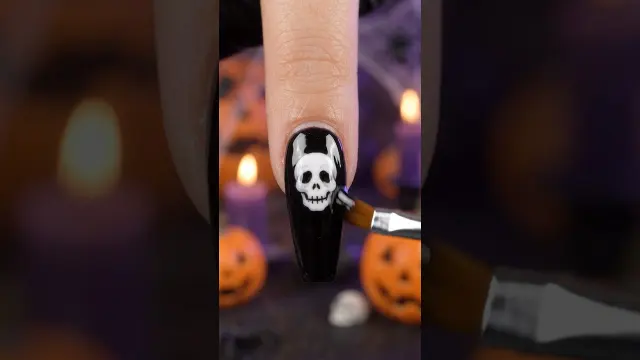 Mini Skull Halloween Nail Design
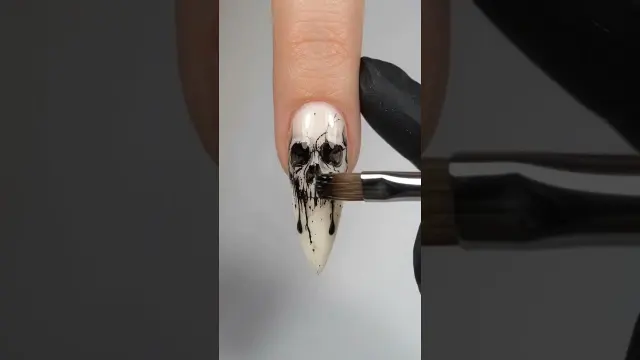 Dripping Ink Skull Nail Art Design
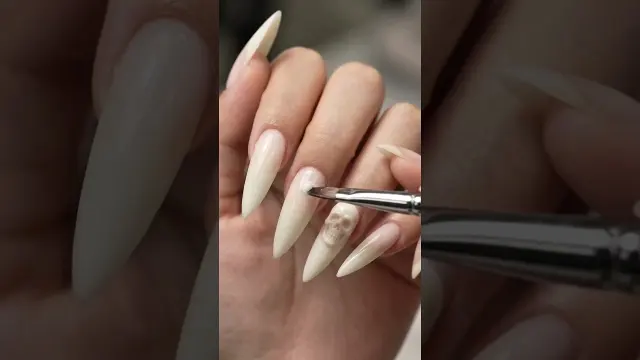 Creepy 3D Aged Bone Skull Nail Art Tutorial
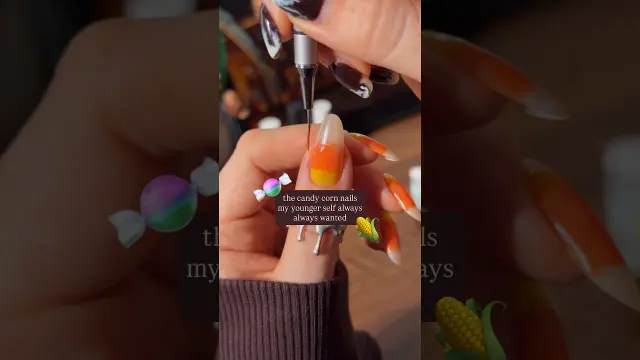 Candy Corn Inspired Halloween Nail Art Tutorial
Get new #Halloween Nails ideas by email
Every Thursday: the week's best ideas, with the newest from #Halloween Nails.
Related tags
Halloween Nails Guide
What Halloween nails are
Halloween nails are manicures inspired by the mood, symbols, and colors of Halloween. They often feature dark shades, bright orange, black, white, deep red, and metallic accents, along with motifs such as ghosts, bats, pumpkins, webs, skulls, stars, and candy-inspired patterns. The style can be playful, eerie, elegant, or dramatic, depending on how bold you want the design to feel.
Where the style comes from
Halloween itself grew from older autumn festivals and traditions connected to the end of the harvest season and the changing of the year. Over time, it became a holiday associated with costumes, lanterns, folklore, and make-believe spookiness. Halloween nails are a natural extension of that spirit: they let you carry the theme into a small, wearable detail that can be as simple or as elaborate as you like.
Read more
Common styles and ideas
There is no single way to do Halloween nails. Some of the most familiar directions include:
- Simple accent nails with one spooky detail on a neutral base
- Classic black and orange designs with stripes, dots, or French tips
- Gothic looks with dark tones, lace-like lines, and jewel-like accents
- Cute Halloween nails with ghosts, candy, pumpkins, and smiling faces
- More detailed nail art with webs, flames, skulls, or layered illustrations
- Matte finishes for a soft, velvety look
- Glossy finishes for a sharper, more polished effect
If you like a subtler manicure, you can use just one Halloween element, such as a tiny spiderweb or a single themed accent nail. If you enjoy statement nails, you can make each finger part of a matching story.
Techniques and materials
Halloween nail looks can be created in many ways, from regular polish to gel systems and nail extensions. Some designs are painted by hand with fine brushes, while others use stickers, stamping, or layered effects. Glitter, foil, and textured details can add depth without making the design complicated.
For beginners, it helps to start with a clean base and a small number of colors. Simple shapes are easier to control than very detailed illustrations. A dotting tool, thin brush, or even a toothpick can be enough for basic eyes, stars, spots, and web lines.
Practical tips for a good result
- Keep the nail shape in mind when planning the design.
- Choose one main theme so the manicure feels balanced.
- Let each layer dry properly before adding more detail.
- Use contrast carefully so small designs remain readable.
- Seal the look with a top coat to help protect the art and add shine.
How to make them feel like you
The best Halloween nails suit your own style. You might prefer cute and colorful, dark and moody, or simple and elegant. A restrained design can feel just as seasonal as a busy one. Think of the manicure as a small costume for your hands: a way to enjoy the atmosphere of Halloween in a personal, creative, and wearable form.
Videos come from YouTube and posts from Instagram; titles and summaries are our own. All rights belong to their creators.